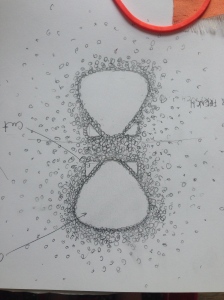
The artisans began working on my second design for the contemporary studio today. This design is much simpler and less involved than my last one so it will be interesting to compare them once they are both complete. Rajat suggested that I incorporate two different colour sheer fabrics, layering them with a fabric manipulation to give this design more depth and help to move it into the contemporary. I decided to experiment with this as none of my previous designs have incorporated two different fabric colours and only one (my first traditional) used a coloured background.
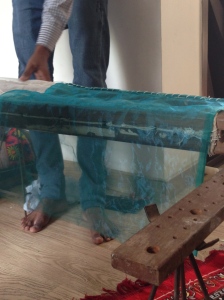
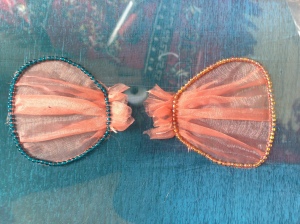
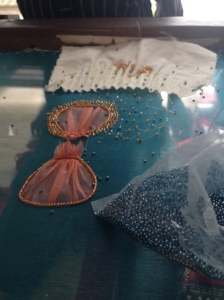
First I pleated small squares of the peach organza in the same manner I experimented with on the first day. I then pinned this fabric manipulation onto my turquise base fabric that had been stretched onto the loom, I pulled the peach fabric taught as well and this helped to secure the pleats to create the line of the shell. The artisan then stitched the fabric down following a shell shape I drew directly onto the fabric, and then trimmed away the excess fabric. Working straight onto the loom without a design transferred allowed this design to come together more organically and I was able to make decisions as I saw them rather than with a previously decided design. An example being the decision to keep the excess pleated area at the base of the shell to create the shell shape rather than attempting to put more fabric down to make the shape. After this I had the artisan stitch another shell down to create my original design.
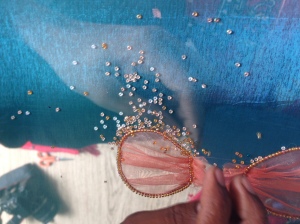
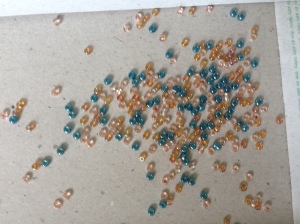
Another design decision that was made during this process was the colour of beads that surround and gradient away from the shells, I originally thought to use blues to accent the peach organza however once the artisan had stitched the blue beads around it did not look the way I had envisioned. I asked the artisan working with me on this design to stitch pink beads down as well so I could compare the effect. I chose to use a combination of the various pink seed beads I had sourced, this made more sense as the pink beads looked to be emanating from the contrast fabric shell and looked more visually harmonious.
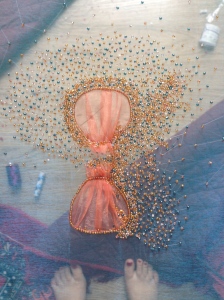
Then it was a matter of allowing my artisan to stitch the various beads down in a gradient, once again I used a visual to explain the gradient which was a more efficient way to communicate. I also chose to incorporate some blue seed beads into my colour palette to unify the embellishment with the background fabric, and once again this colour shift was explored whilst my design was being completed. Whilst this was an effective way to see my design develop and add to it, from an industry perspective it would be extremely difficult therefore having an understanding of colours and where you wish your design to go prior to beginning construction would allow for a more affordable and timely design process.
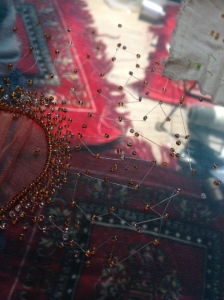
A small construction issue that arose with my design was due to the sheer fabric and the gradient of my design, when the beads are stitched far apart you can see the line of thread that connects them as the artisans use long needle to make the process much faster. I consulted Rajat and he said it is not possible for these threads to not show, if I wanted to create a garment that was entirely sheer fabric with no lining I may need to revise my design. However when you put the design against a matte surface you cannot see the thread work, making it ideal as a top layer textile design which I will explore in my drape process.
I am pleased with how this design is developing and am excited to see it completed. Already I am beginning to think how this design might be placed on a garment/ drape. From my initial designs I had already explored the use of a repeat to create more of a fabric sample rather than an embroidery placement piece, thus I will most likely scan this design into photoshop and repeat it to see the effect.

